Guides
How to measure a room for flooring: a preliminary estimate checklist
Measure rectangular and L-shaped rooms for a flooring estimate. Keep floor area, material allowance, pack coverage and on-site preparation checks separate.
Define the rooms and the flooring request
Confirm which rooms are included and whether the customer wants laminate, vinyl, wood or another product. Record whether the request covers supply, fitting, removal of the existing covering, underlay and finishing pieces. A dimension alone cannot answer those scope questions.
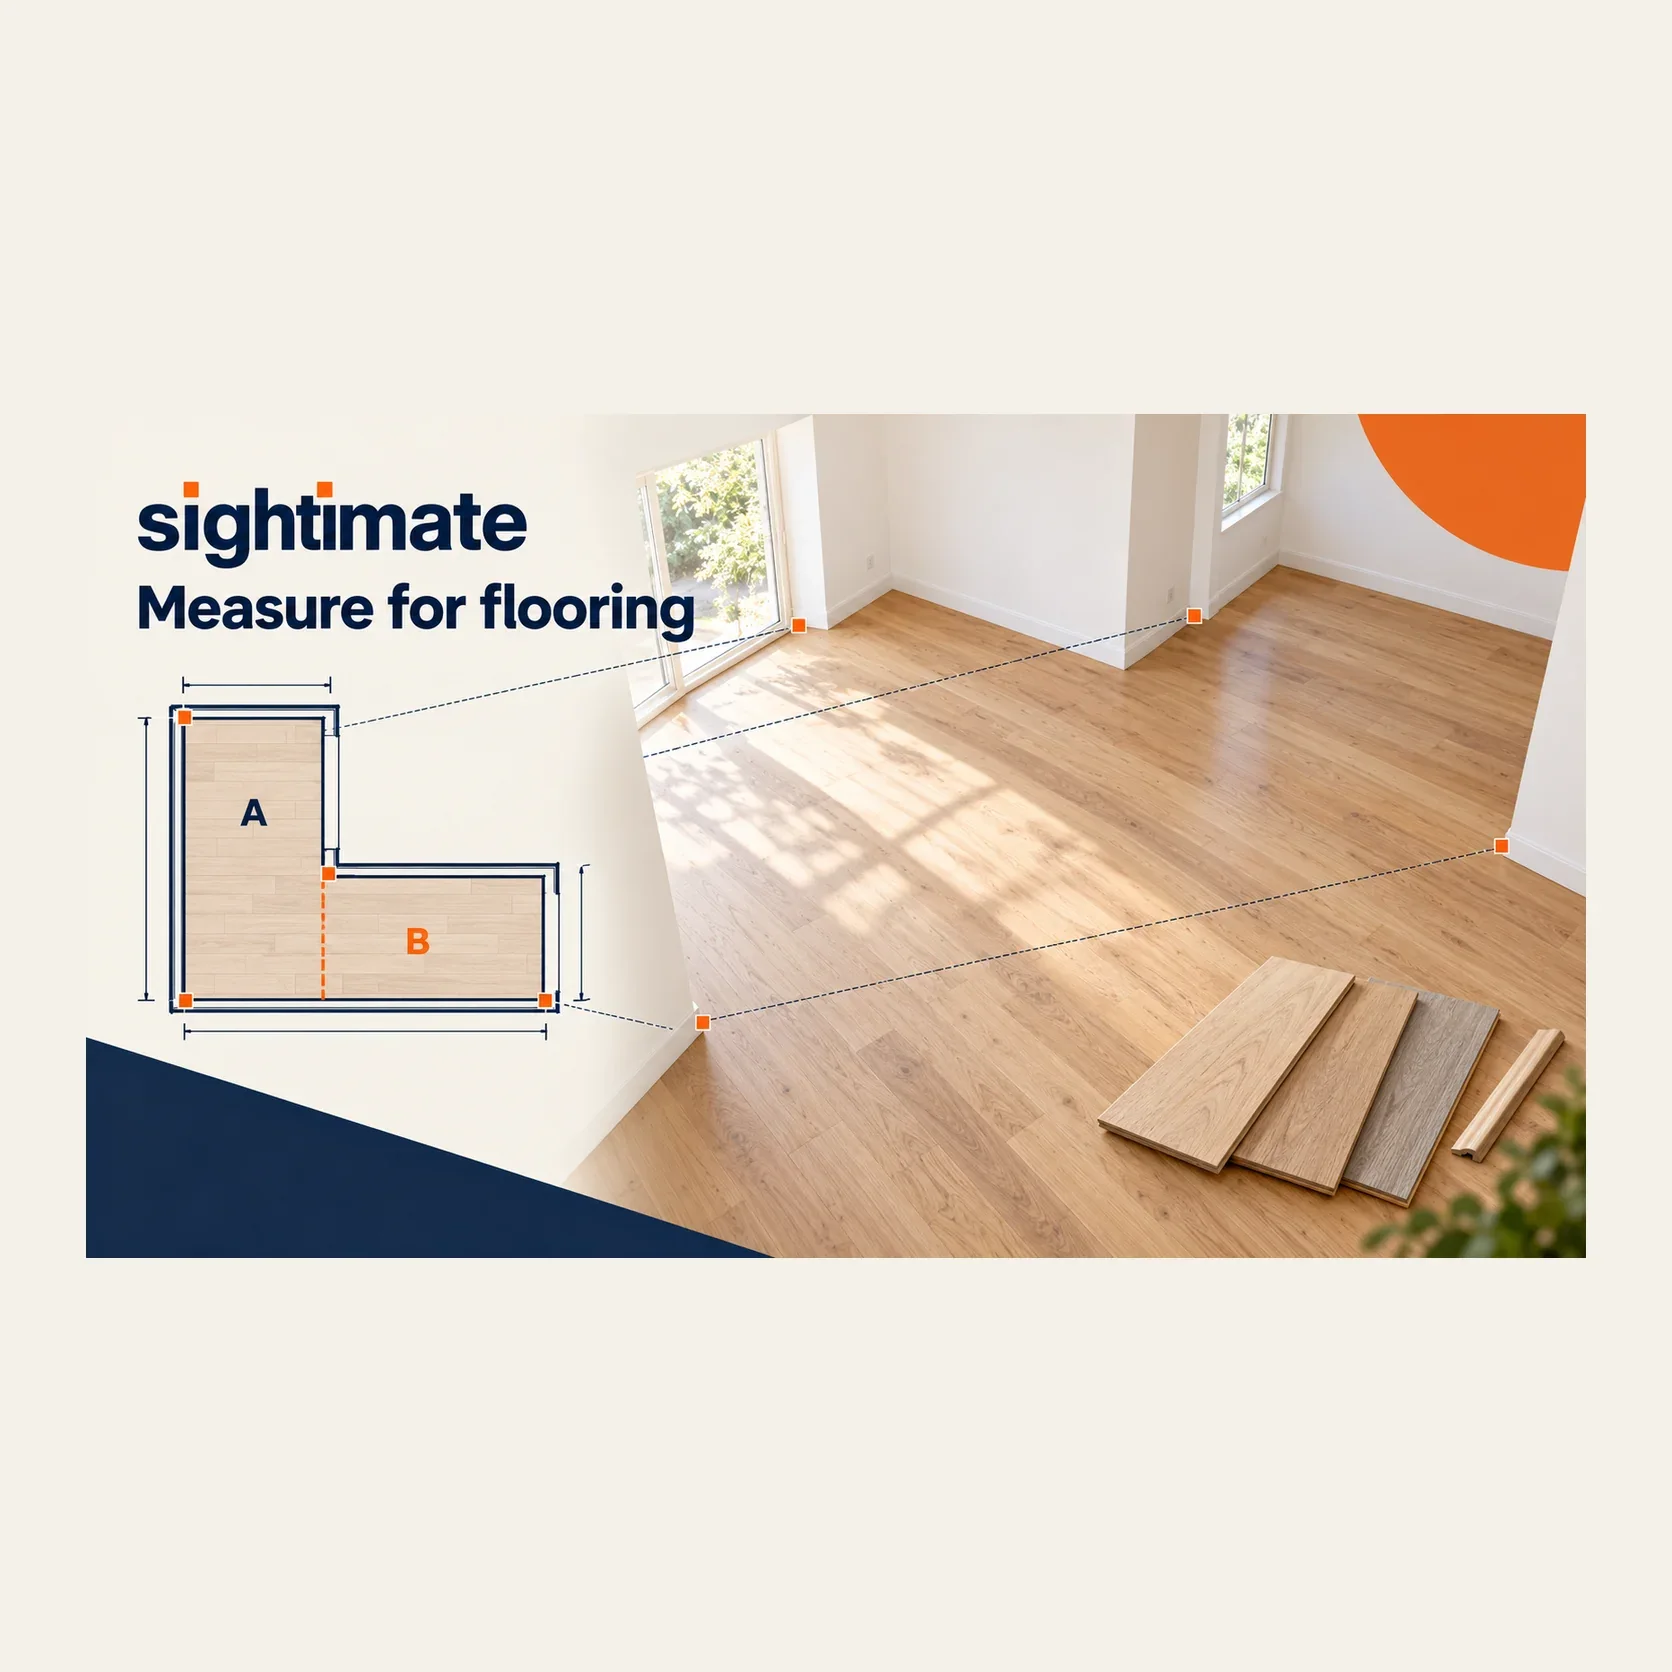
Name each room and show the doorway that connects it to the next space. Sketch recesses and fixed obstacles in their approximate positions. Label every length with its unit and source, and leave an obvious blank for anything not measured. This makes the first discussion more useful than a collection of unlabelled photographs.
Calculate rectangular and L-shaped floor area
For a rectangular room, area equals length multiplied by width. Use metres for both lengths to obtain square metres. For example, a 4.00 × 3.00 m room has a floor area of 12.00 m². Convert centimetre measurements to metres before multiplying them.
For an L-shaped room, draw a dividing line and calculate two rectangles that do not overlap. In an illustrative sketch, rectangle A is 4.00 × 3.00 m and rectangle B is 2.00 × 1.50 m. The total is 12.00 + 3.00 = 15.00 m². Keep the dividing line on the sketch so it is clear which part of the room each figure represents.
For curves, angled walls or unclear boundaries, record the shape and ask for the measurements needed to check it. A neat rectangular formula is useful only when the surface being priced is represented by those rectangles.
Keep room area, allowance and pack quantities separate
The net floor area is one figure. The material allowance for cutting and layout is another. Record the planned board or tile direction, pattern and product before deciding the allowance with the fitter or supplier. Applying the same percentage to every room can conceal important differences.
Once the ordering area has been agreed, divide it by the actual coverage of one pack and round the pack count up to a whole number. Keep the pack coverage and product reference in the estimate. This is a purchasing calculation, not a change to the room’s measured area.
Also list skirting, trims, thresholds and transitions separately. These usually need their own lengths or counts. Adding them to an area figure makes the estimate harder to audit and can hide a missing item.
Record the preparation checks that need a visit
Photographs and visible dimensions help describe a room. They do not establish the condition beneath the current covering. Before fixing the installation scope, arrange the relevant checks of the substrate, moisture and level, using the selected product’s instructions.
Quick-Step’s preparation guidance, for example, treats a dry, clean and suitably level base as part of installation preparation. The applicable limits and method depend on the product and substrate. Use the current installation document for the chosen flooring rather than transferring a generic limit from another system.
Record what remains unknown in the first estimate: removal work, preparation, changes in finished floor height, door clearance or transition details. This makes a provisional price understandable without pretending that every condition has been checked remotely.
A flooring measurement record you can reuse
Room name and adjoining spaces:
Proposed flooring, product reference and layout:
Sketch reference and measurement source:
Rectangle A: length × width = area:
Rectangle B or additional sections, without overlap:
Total net floor area:
Allowance and the reason for it:
Pack coverage and whole-pack quantity, when agreed:
Trims, thresholds, removal and preparation as separate items:
Checks still needed on site:
Example customer message: “Please identify the rooms you want included and the flooring you are considering. Share an overall view of each room, its doorways and any recesses. Label any existing dimensions with the room name and unit. We will prepare an initial estimate and check the substrate, final measurements and installation details on site.”
Use remote review to prepare the next step
With Sightimate, the customer follows a guided capture in their phone browser and the business reviews the result on a computer. Take a preliminary measurement only where the required end points are visible and the result is suitable for your decision. Keep the displayed uncertainty with your notes.
Use your room sketch and worksheet to organise those inputs. You decide the area calculation, material allowance and quote; this guide does not describe an automatic floor plan or material take-off feature. Confirm the final measurements and preparation requirements before ordering or installation.
Frequently asked questions
How do I calculate the square metres of an L-shaped room?
Split the sketch into rectangles that do not overlap, multiply each rectangle’s length by its width, then add the areas. Show the dividing line so the calculation can be checked.
Is measured floor area the amount of flooring to order?
Keep net area separate from the agreed cutting and layout allowance. Use the chosen product’s pack coverage and round purchasing quantities up to whole packs.
Can a phone capture confirm that the subfloor is ready?
Visible capture details support preliminary review. The required substrate, moisture and level checks follow the chosen flooring system’s instructions and need the appropriate on-site assessment.
Sources and further reading
Review the next inquiry before the first visit
Review a customer’s guided capture and take preliminary measurements where the scene supports them. Make the scope and remaining on-site checks clear in your own estimate.